
Movavi Slideshow Maker is a beginner friendly slideshow maker program that can be used to create slideshow presentation for all types of projects. It comes with two work modes including normal mode and easy mode. The slideshow wizard will guide you step by step on how to make a slideshow with music.
When you first launch Movavi Slideshow Maker software, a blue pop up will appear and you will see two options. You can click slideshow wizard button to open the easy mode. If you click the create project in full feature mode button, you will access the program in the normal mode with all the features accessible. The full feature mode allows you to make your video presentation more complex by adding special effects, footage and titles.
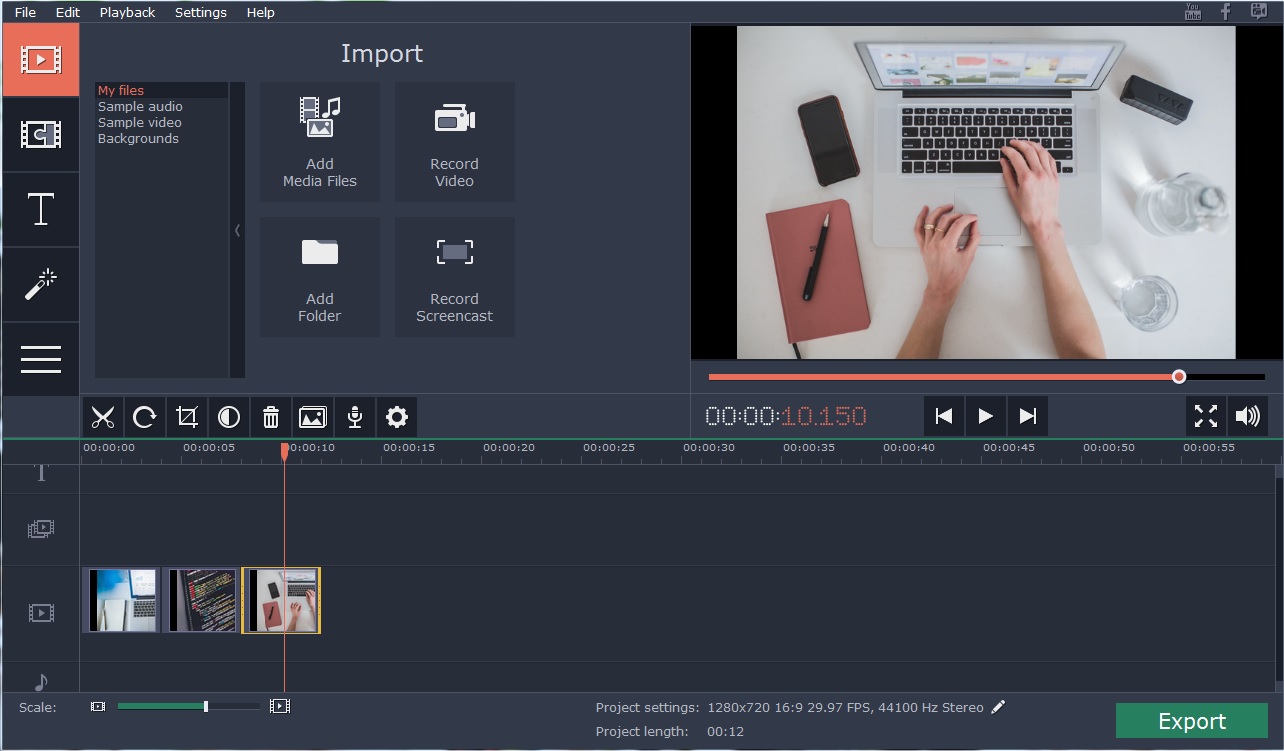
The full featured mode in Movavi Slideshow Maker allows you to perform all the editing work for your video presentation in a timeline panel. The timeline panel is where you can arrange overlay audio and movie track into your slideshow. You can preview the slideshow in the preview panel to see how the actual output of the slideshow will look like. On top of the timeline panel, you will see a toolbar that provides convenient access to tools such as scissor, rotate, and crop buttons. To clip a picture, you just select it and move the vertical line to the point where you want to be separated. After that, you can click the scissor button and the picture will be cut at that point.
In the slideshow wizard, you will see 3 tabs and you are to select the first tab. In the first tab, you can click on the +Files button to select files from your folder or click on the +Folder button to load a folder that contain the pictures into the software. The pictures that have been loaded can be seen in thumbnails on the work area. If you hold down your mouse on a picture and try to drag it, you will find that the picture thumbnail can be dragged to another position.
You can do this for any picture that you wish to change the position until you arrive at the sequence that you want for your presentation storyline. On the lower right corner, you will see a rotate button and a trash button. If you want to rotate or delete a picture from the work area, you simply select the picture and click on the respective button.
The second tab in the easy mode allows you to add transitions into the photos. Here, you can chose from several options of transition styles including crossfade, geometric and artistic transitions. You will see a transition duration field where you can enter the duration on how long the transition will last. You will also see the slideshow length and number of slides at the bottom of the slideshow program. In the third tab, you can add music to your slideshow presentation.
To add music, you can click the + Audio button and the file dialog box will open for you to load the audio files into your slideshows. You can also add a music track from the library preinstalled in the software. You can click the yes button if you want the slide to end at the same time when the music track ends. When you are done, you simply click the finish button and the file export dialog box will appear. In the save as video tab, you must choose the desired video format, and destination folder before clicking on the start button. It will just take a moment for the video presentation to be exported to the selected destination folder.
Author: Oliver Curtis
Hi there. I’m Oliver. I’m just a young boy from the outskirts of… Okay, that’s a lie, I’m not a young boy anymore, although I certainly feel that way at heart.